Functions
2. Surface roughness: R parameter, P parameter, W parameter, etc.
3. Surface profile evaluation: It can evaluate radius, angle, distance, coordinates, circle, circular cross section, and determine the points, each intersectant point, coordinate axis, straight line, vertical line, circle and circular cross section, and analyze the straightness, roundness of contour
4. Shape error measurement: aspheric shape error measurement, straight line shape error measurement, camber shape error measurement
5. CNC Automatic mode is supported;
6. SPC statistics and analysis are supported
7. Support to import CAD file
8. Can export test data to the Word, Excel, AutoCAD(Optional)
9. Output multiple kinds of report format, and support user-defined report, or customize report(optional)
10. Can search and manage the test records according to object type, manufacturer, manufacturing number, inspector, submitted institution, equipment number, inspection date or effective date etc.
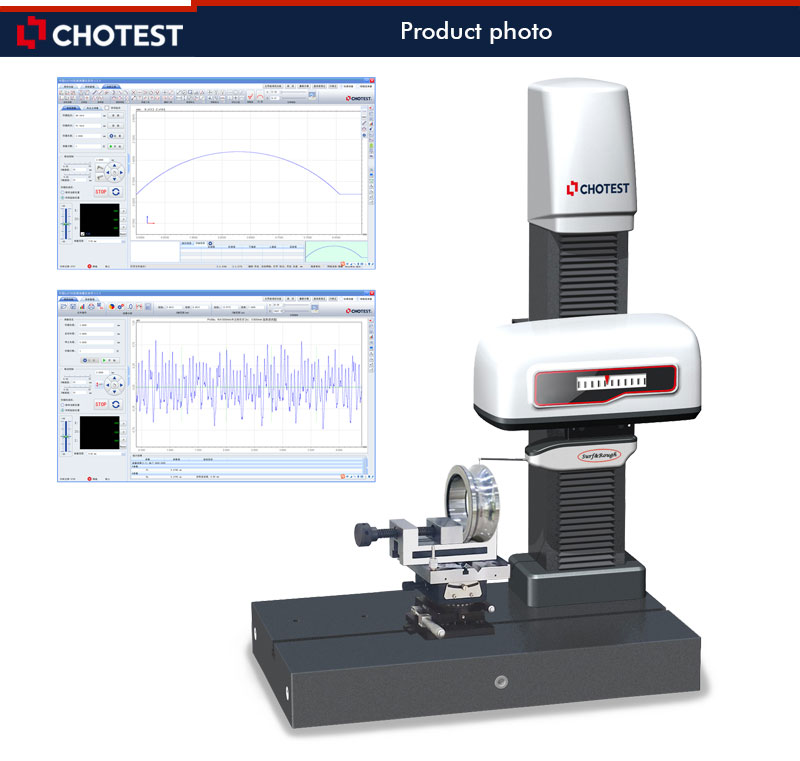
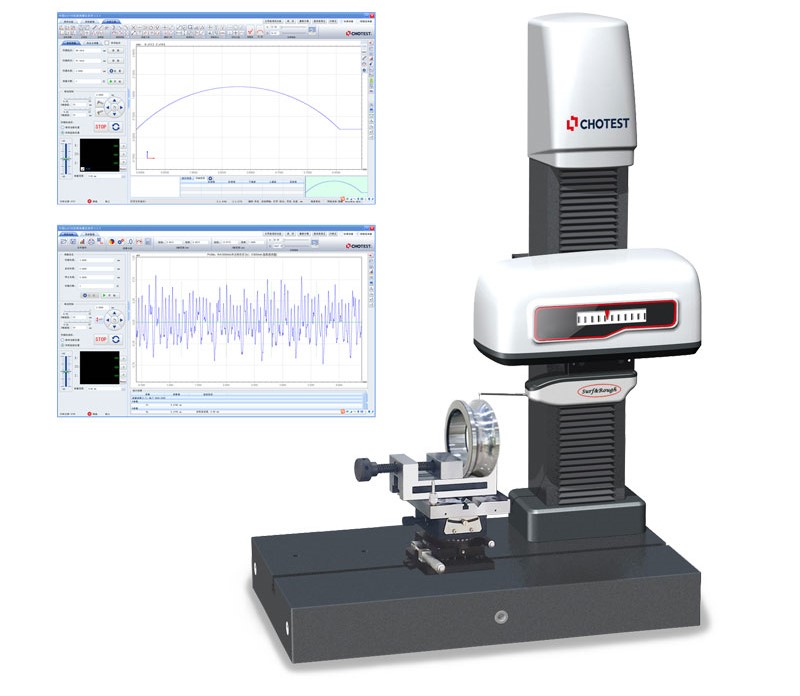
Photo

Parameters
| Model No. | SJ5730-100 | ||
| Profile Measurement |
Measuring Range | X | 0~100mm |
| Z | 0~300mm | ||
| Z1 | ±6mm(Optional: ±12mm) | ||
| Resolution | 0.001um | ||
| Accuracy | Z1 *1 | ≤±(0.5+0.03 H)μm(H,mm) | |
| Pt *2 | Pt≤0.4μm | ||
| Standard Ball *3 | ≤±1μm(R≤10mm) ; ≤±(0.17+R/12)μm(10﹤R≤200mm) | ||
| Angle *4 | ≤±1′ | ||
| Moving Speed |
X | 0~20mm/s | |
| Z | 0~20mm/s | ||
| Scanning Speed | 0.05~5mm/s | ||
| X Straightness *5 | ≤0.2μm/100mm | ||
| Measuring Force | 0.5mN,0.75mN,1mN,2mN,3mN(Adjustable) | ||
| Roughness Measurement |
Ra Masurement Range | Ra0.012μm~Ra12.5μm | |
| Accuracy *6 | Ra0.012μm ~ Ra3 . 2 μm: ≤±(3nm+2.0%A),A(Ra)μm Ra3.201μm ~ Ra12.5μm : ≤±(3nm+3.5%A),A(Ra)μm |
||
| Repeatability (1δ) *7 | 1δ≤1nm | ||
| Measurement Residual *8 | Rq≤3nm | ||
| Roughness Parameters | R roughness: Rp, Rv, Rz, Rc, Rt, Ra, Rq, Rsk, Rku, RSm, RPc, Rdq, Rdc, Rmr, Rmax, Rpm, tp, Htp, Pc, Rda, Ry, Sm, S, Rpq, Rvq, Rmq, RzJ, Rv1max, Rp1max, Rz1max, Rmr(Rz/4), maxRa, R5z, R3z, Rh, Dq, Lq, SD Key roughness: Rcore: Rk, Rpk, Rvk, Mr1, Mr2, A1, A2 Profile: Pa, Pq, Pt, Pz, Pp, Pv, PSm, Psk, Pku, Pdq, Pdc, Pc, PPc, Pvq, Pmr, Pmq, Rad, PzJ, Pmax, StpHt, TIR, Avg, Slope, Area+, Area-, Area, Profl, Edge, StpWd, Bumpht Waviness of profile: Wa, Wq, Wt, Wz, Wp, Wv, WSm, Wsk, Wku, Wdq, Wdc, Wmr, Wpc, Wc, Wh, Wmr(WZ/4) Motif: R, AR, W, AW, Rx, Wx, Wte, Nr, Ncrx, Nw, Cpm, CR, CF, CL ISO5436: Pt5436, D |
||
| Filter | Gaussian filter, 2RC filter, zero phase filter | ||
| Sampling Length | 0.008, 0.08, 0.25, 0.8, 2.5, 8.0 or 25mm Selectable | ||
| Evaluation Length | Auto calculation | ||
| Roller Analysis | Roller convexity, position distance, logarithmic roller busbar, X-mirror curve coincidence, segmented different tolerances |
||
| Input | AC100-240V, 50/60Hz, 130W | ||
| Size(L×W×H) | 600×350×890mm | ||
| Weight | 110kg | ||
| *1 The accuracy is based on the measurement standard gauge block. *2 The accuracy is based on the Pt test of standard ball smaller than diameter 25mm. *3 The accuracy is based on the verifcation of the ф 50mm standard ball with the arc exceeds 90 degrees. *4 The accuracy is based on the measurement of the angle of polygonal prism. *5 The accuracy is based on the measurement of optical flat. *6 The accuracy is based on the measurement of standard roughness block. *7 The repeatability is based on the measurement of 0,1-0.2μm square wave roughness block and standard step height block. *8 The accuracy is is based on the measurement of 1 nm level roughness block and optical flat. |
|||
Features


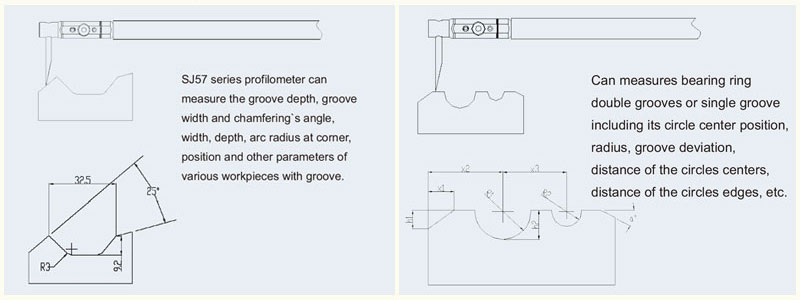
Applications

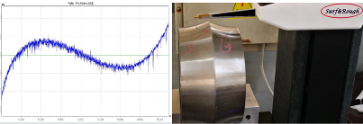
Scanning curve of Profile
Configuration
Standard configuration:
2. Calibration gauge for profile 3. Measuring arm L85-ZMY15 4. Measuring arm L85-RMY15 5. Jaw vice 6. Object table 7. Portable joystick 8. Measuring software 9. Desktop computer and 24” monitor 10. Aluminium alloy suitcase for accessories 11. User manual 12. Product certification and Warranty card
Package


